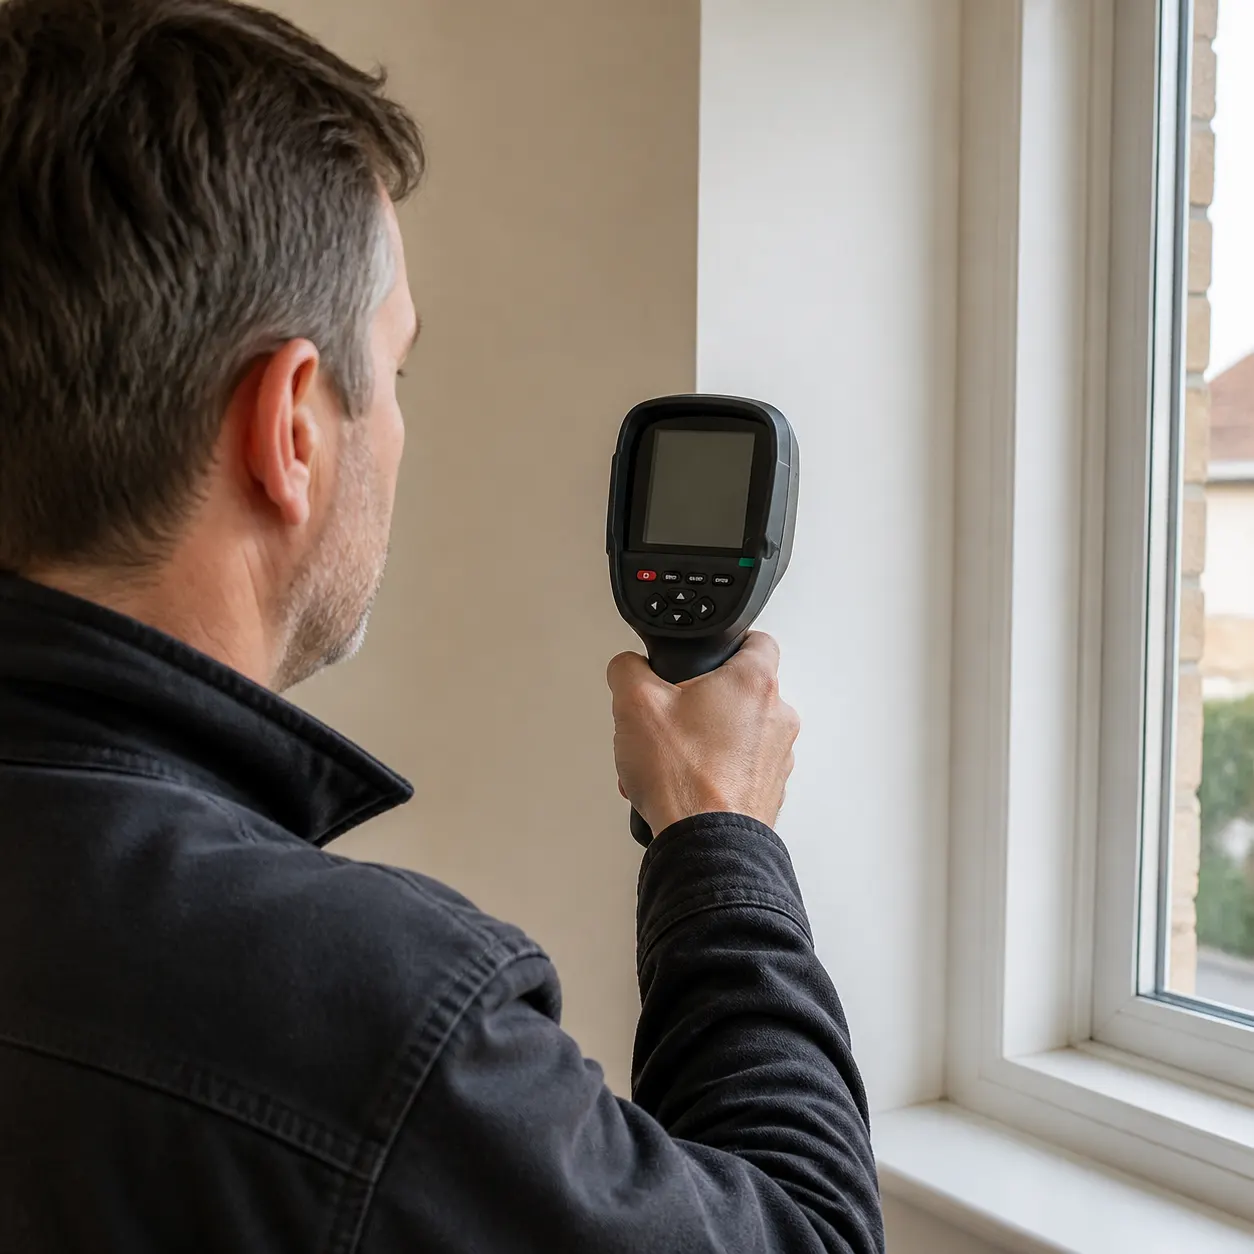
Short answer: For a UK home inspection, a handheld thermal camera is most useful when it narrows the next question: which window, wall, ceiling edge, floor area or pipe route deserves closer attention? This camera shows a white-hot thermal image, saves BMP files to 8 GB of built-in storage or an SD card, and runs on a rechargeable lithium battery. Use the pictures as a record of what you saw, then involve a surveyor or trade where the cost, safety or cause of the problem needs a definitive answer.
Define the home inspection question
A good inspection starts with a complaint that can be located: a cold bedroom wall, a draught at a patio door, uneven heating near a radiator or condensation beside a window. This handheld camera shows those surface heat patterns on an LED screen in a white-hot palette, so you can compare one area with another before you open anything up.
Do not begin with the assumption that every cool area is a defect. Furniture, curtains, air movement, recent heating and sunlight can all affect the surface pattern. A wider view, a comparison room and written conditions give the saved image more meaning.
| Inspection job | Useful camera record | Further check still needed |
|---|---|---|
| Cold bedroom wall | Wide wall and corner comparison | Ventilation, insulation or building assessment |
| Draughty door | Frame, threshold and nearby wall pattern | Physical draught and seal check |
| Uneven radiator heat | Accessible surface pattern | Heating-system diagnosis by a suitable professional |
Use the camera for the check in front of you
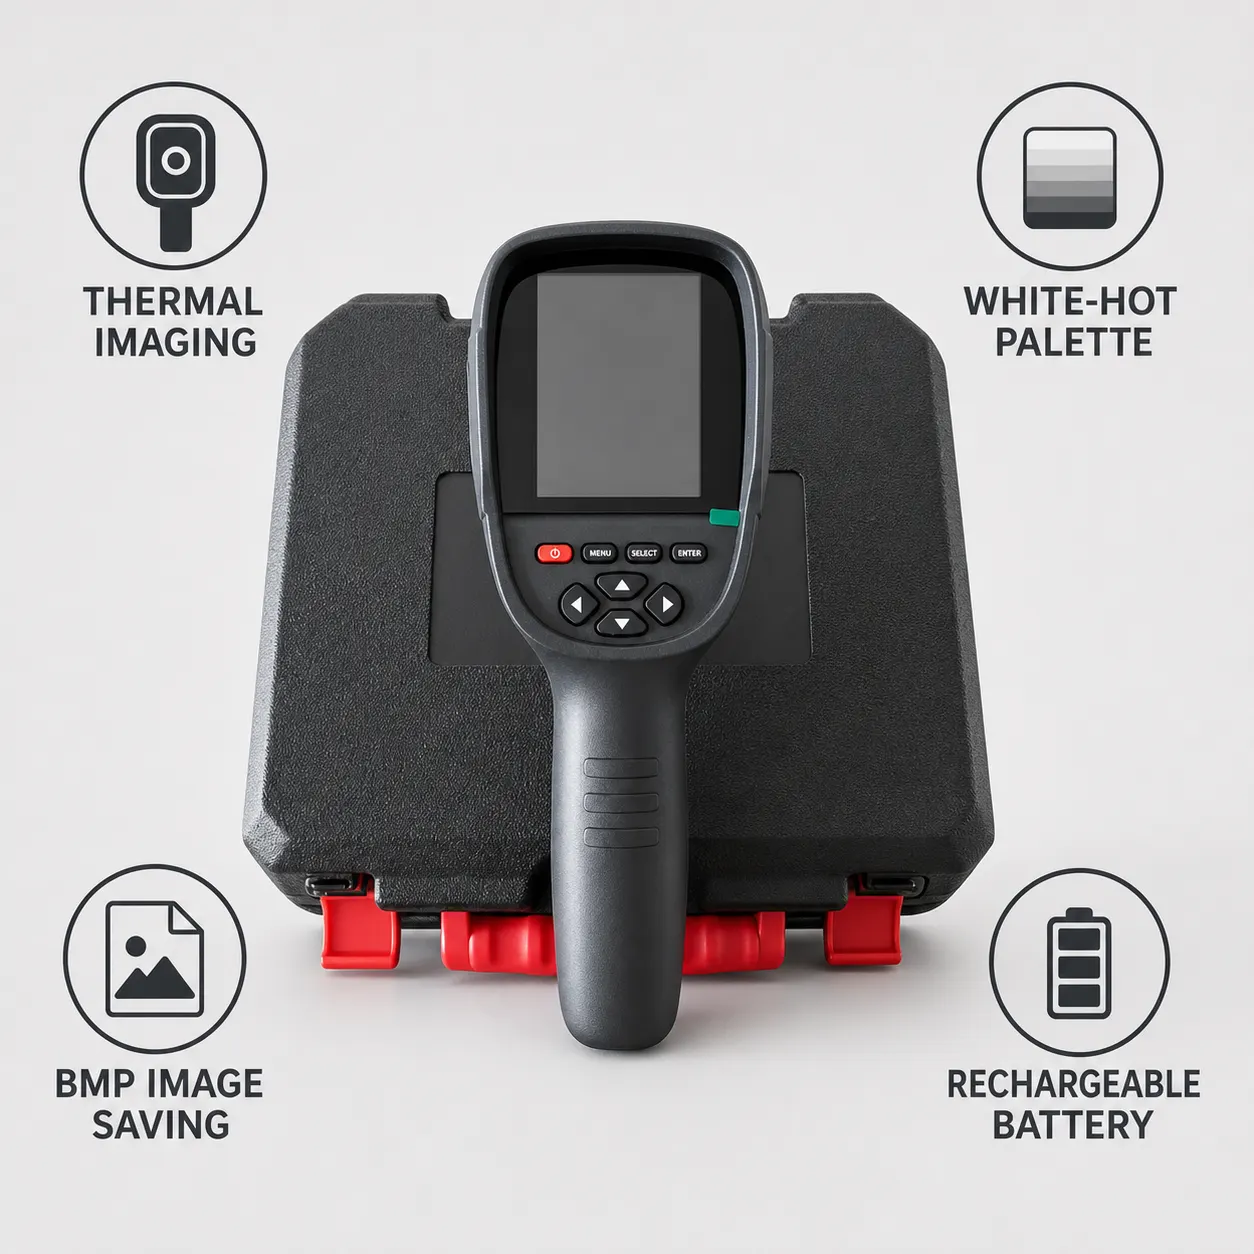
The LED screen shows a thermal image in a white-hot palette. BMP files can be kept on 8 GB of built-in storage or an SD card, which suits a walk-round where you want to look again later or show a landlord, builder or heating engineer. Charge the rechargeable lithium battery before you move from room to room.
What you can check on the product page is the picture, the save format and the body: white-hot image, BMP files, 8 GB built-in storage, an SD card slot, a 35° × 27° field of view, 0.1°C temperature resolution, a 10 ms response, IP55 and a 1 m drop test. Choose it for that record of surface heat, and bring in a surveyor when you need a formal document.
Run a repeatable room check
Keep the inspection short and consistent. Note the room condition, scan the broad area first, save a contextual image, then capture the suspicious spot. Repeat the same surfaces in a comparison room. The method helps prevent one striking image from becoming an unsupported diagnosis.
- Choose one room and write down heating, weather, sunlight and the reported problem.
- Scan windows, doors, external corners, skirting, ceiling edges, floors and accessible pipe routes.
- Save BMP images with enough surrounding context to identify the surface later.
- Compare the pattern with a normal room and decide whether a specialist check is justified.
Know when home inspection needs more
GOV.UK guidance on damp and mould makes clear that the building condition and underlying causes matter. A thermal image can support a conversation, but it cannot prove moisture, mould cause, insulation failure or a structural defect. Where a problem is persistent, widespread, linked to a leak or important to a tenancy or sale, obtain the appropriate inspection.
The camera is £232.85 with VAT included, with Free UK Delivery and 30-day returns. That may suit repeated checks across a home or several properties. For a one-off formal assessment, compare the cost with borrowing equipment or commissioning a report. Keep the picture with your notes, and let the follow-up inspection decide what the building needs.
Related guides and product details
A sensible UK home-inspection purchase is a camera for repeatable visual evidence, followed by the right professional check when the stakes exceed screening. Read Thermal Imaging Camera for Cold Spots in a House for related guidance. Read Thermal Camera for Damp, Condensation and Cold Walls for related guidance. Review the documented specification on the Handheld Infrared Thermal Imaging Camera product page before ordering.
Sources and safety context
- The camera shows a white-hot thermal image, saves BMP files, and runs on a rechargeable lithium battery. Current Imagetherm thermal imaging camera product page.
- Supports treating damp and mould as issues requiring appropriate building action and professional judgement. GOV.UK: Understanding and addressing the health risks of damp and mould in the home.