Use A Thermal Image To Triage The Cold Room First

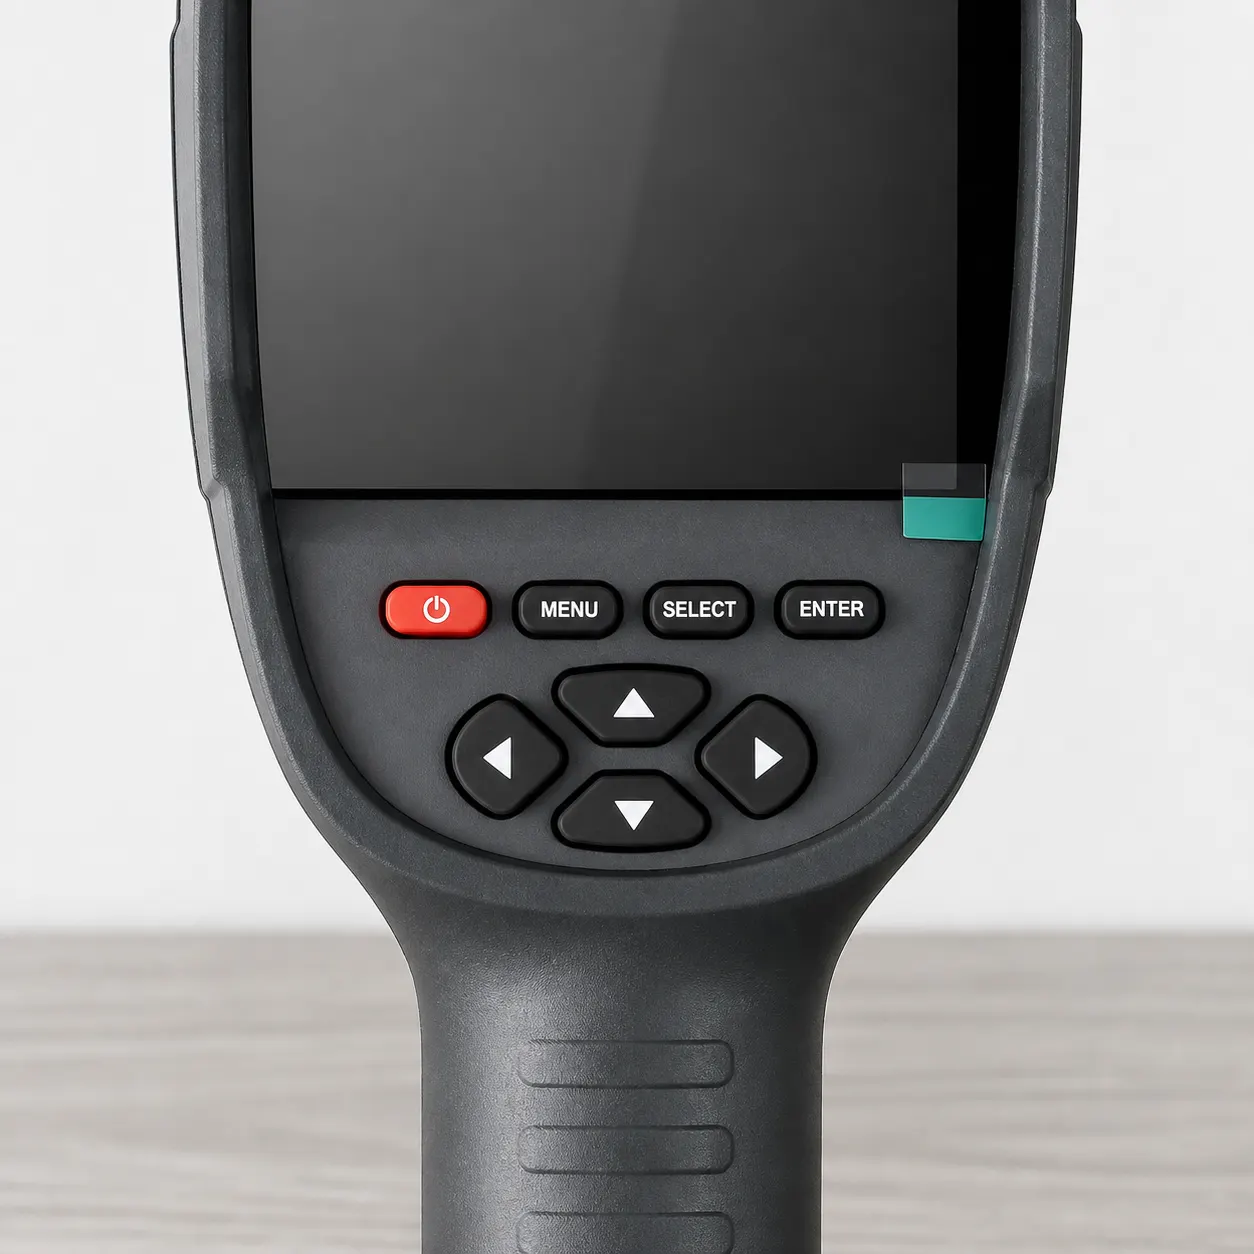
Thermal Imaging Camera controls and screen

If you are looking for a thermal imaging camera for cold spots in house checks, use it to narrow the search before you spend money on insulation, draught-proofing or a specialist visit. A handheld thermal camera can show cooler and warmer surface patterns around windows, doors, loft edges, walls, floors and pipe routes, which makes it easier to decide where to look next. It should not be treated as proof of damp, failed insulation or a structural defect on its own.

The CWH425 handheld infrared thermal imaging camera is listed with thermal imaging mode, a white-hot image palette, BMP image saving, an SD card slot and a rechargeable lithium battery. Those documented facts point towards a simple standalone inspection tool for capturing visible heat-pattern evidence around a home. The sensible job is not to make the camera answer every building question; it is to help you photograph suspect areas, compare rooms, and decide whether a fix is obvious or whether you need a qualified person to investigate.

Set The Job Around A Real UK Room, Not A Perfect Test Lab

Picture a semi-detached house in Leeds where the front bedroom always feels colder than the landing, or a kitchen in Bristol where condensation gathers near an outside wall. The practical question is usually quite narrow: is the cold feeling strongest around the window frame, at the skirting, near a loft edge, behind a radiator, or across the whole outside wall? A thermal camera is useful because it helps turn that vague complaint into marked locations you can inspect in order.

The image still needs context. A cold-looking patch may be affected by heating, sunlight, airflow, furniture, surface material or recent use of the room. That is why the best home workflow is calm and repeatable: scan the same room from a few positions, save images, write down where they were taken, and compare obvious surfaces such as window reveals, door edges, floor corners and radiator areas. The saved BMP image format and SD card slot listed for the CWH425 are relevant here because they support keeping images for later review.

Check The Documented Camera Facts Against Your House Task

The public facts for this product are deliberately limited, so the buying decision should stay grounded in what is actually listed. It is a handheld CWH425 infrared thermal imaging camera. It has a thermal imaging mode with a white-hot image palette. It can save BMP images and includes an SD card slot. The listed attributes also include a rechargeable lithium battery. Those are useful facts for a home inspection workflow where the buyer wants to walk room to room and keep visual records.

What is not documented matters just as much. The supplied facts do not state resolution, temperature range, accuracy, screen size, measurement distance, waterproofing, drop rating, calibration status or professional reporting software. If those details are essential to your job, do not assume them. For a homeowner trying to document cold spots before speaking to a builder, landlord or surveyor, the listed image-saving and handheld operation may be enough to justify a closer look. For a formal survey, the missing specifications should make you pause.

Separate Cold Spots, Damp Worries And Draught Clues

Cold walls, condensation and damp are often discussed together in UK homes, but they are not the same problem. A thermal image can show a surface pattern that looks cooler than nearby areas. It cannot, from the documented product facts alone, prove the cause of that pattern. A cooler patch might relate to airflow, insulation, a thermal bridge, a cold pipe route, a recently opened door, furniture against a wall, or moisture affecting the surface temperature. The image is a starting point for a better question.

This is especially important in kitchens, bathrooms, bedrooms and rented properties where mould or condensation is already causing concern. A thermal image may help you show that a corner, reveal or wall zone behaves differently from the rest of the room, but you should avoid turning colour differences into claims about hidden damp. The practical value is in documenting where to inspect, where to ventilate or heat consistently, where to check seals and trickle vents, and where to ask a building professional for a proper assessment.

Run A Calm Cold-Spot Walkthrough At The Packing Bench Or Kitchen Table

Before walking around the house, set up a simple note-taking point at the kitchen table, utility counter or workshop bench. Put the SD card in place if you plan to save images, make sure the rechargeable lithium battery has enough charge, and decide which rooms you will inspect first. Start with the room that causes the complaint, then compare it with a room that feels normal. This keeps the job focused and reduces the risk of collecting a folder of confusing images with no sequence.

A practical sequence is: photograph the outside wall first, then the window frame and sill, then the door edges, skirting line, radiator area, loft hatch or ceiling edge if relevant, and finally any visible pipe route. Save images as you go, and record the room name and position in plain language. Use the white-hot image palette consistently so your later comparison is not confused by changing display styles. After the walkthrough, choose the few images that show the clearest difference and inspect those physical areas more closely.

Use This Checklist Before You Blame The Building

Cold-spot checklist: check the surface first, because shiny, covered or recently touched surfaces can be misleading. Check the setup next: same room, same camera mode, steady viewpoint and saved images where needed. Check the content of each image: window reveal, door edge, skirting, wall corner, ceiling edge, radiator area or pipe route. Check the environment: recent heating changes, open doors, direct sun, cooking, showering and blocked airflow can all change what you see on a surface.

Then check aftercare in the most practical sense: what will you do with the image? If the picture points to a draught around a door, inspect the seal. If it points to a cold window reveal, look for gaps, damage or condensation patterns. If it points to a whole outside wall, avoid jumping straight to expensive work and consider whether you need professional advice. The point of the checklist is to make each saved BMP image useful, not just visually interesting.

Know Who Should Not Buy This For The Job

Do not buy this product expecting the documented facts to provide a full building survey tool. The supplied information does not state professional certification, formal reporting capability or diagnostic authority for damp, insulation failure, electrical faults or plumbing defects. A homeowner can still use a thermal camera to make a better-informed next move, but the image should sit alongside ordinary inspection, photographs, notes and, where needed, advice from a qualified trade or survey professional.

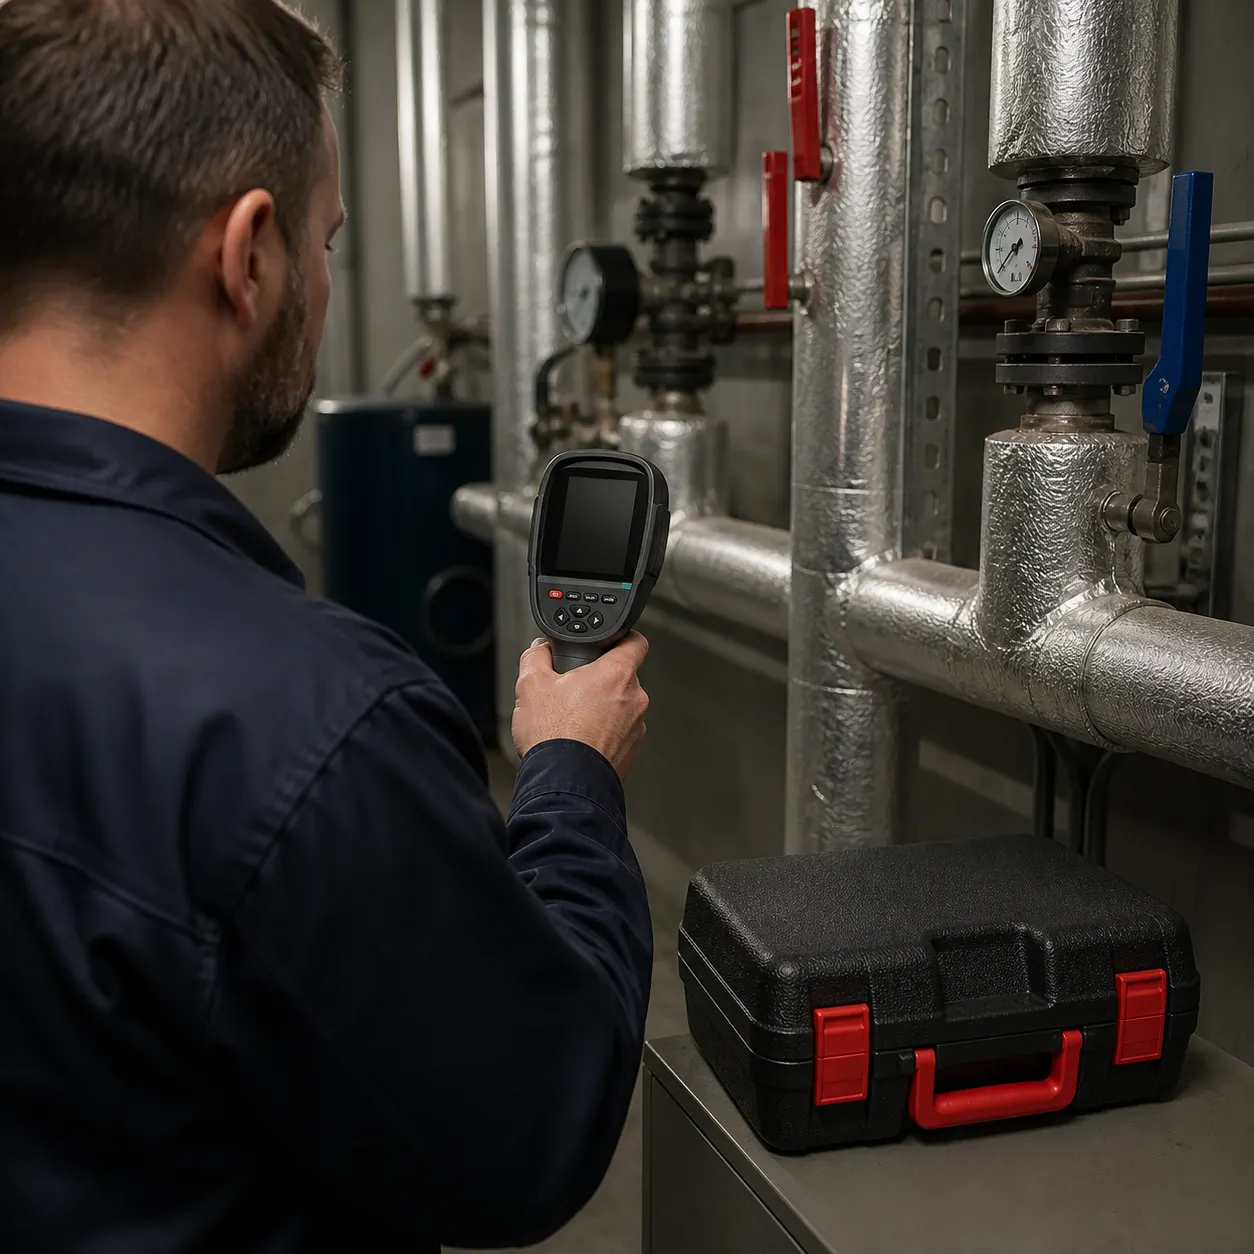
It may also be the wrong fit if your decision depends on detailed numerical measurement specifications that are not listed in the frozen facts. Electricians, heating engineers and maintenance workers may value a handheld imager for visual screening, but trade work around live equipment, plant rooms, pumps, motors or pipework needs competence and proper procedure. The camera can support visual triage; it should not be presented as a replacement for the correct test instruments, safe working method or professional judgement.

Compare Buying With Borrowing Or Hiring For One Weekend

For one cold room, it is reasonable to ask whether you should borrow, hire or buy. Buying makes more sense when you expect repeated checks: a draughty hallway now, loft edges later, a radiator concern in winter, and comparison images after small remedial work. The listed price is £232.85 with VAT included, and the commerce information states Free UK Delivery, 1–3 business days processing, and 2–4 business days delivery after dispatch. Those details may matter if you are timing the job around a cold spell.

Hiring or borrowing may be more sensible if you only need a single set of images and do not expect to use the tool again. The risk with any short hire is rushing the interpretation because the camera has to go back. The risk with buying is assuming ownership makes the result more authoritative than it is. A balanced approach is to buy only if the documented features match your own workflow: handheld use, thermal imaging mode, white-hot palette, BMP image saving, SD card storage and rechargeable operation.

Take The Next Step With Evidence, Not Guesswork

The grounded next step is to define one inspection question before you buy or use the camera. For example: why is the back bedroom wall colder than the rest of the room, where is the draught around the front door strongest, or does the radiator area show a different heat pattern from the pipe route? That single question gives your images a purpose. It also helps you avoid collecting dramatic-looking pictures that do not lead to a practical decision.

If the CWH425’s documented facts fit that job, use it as a handheld visual record maker: scan, save, compare, inspect and then decide whether a simple fix or professional assessment is the next move. Keep the language careful when sharing images with a landlord, tradesperson or family member. Say what the image shows on the surface and where it was taken, not what it proves behind the wall. That discipline is what turns a thermal image from a gadget result into useful home evidence.